How to Automate GitBook Screenshots with FreshShots: A Complete Guide

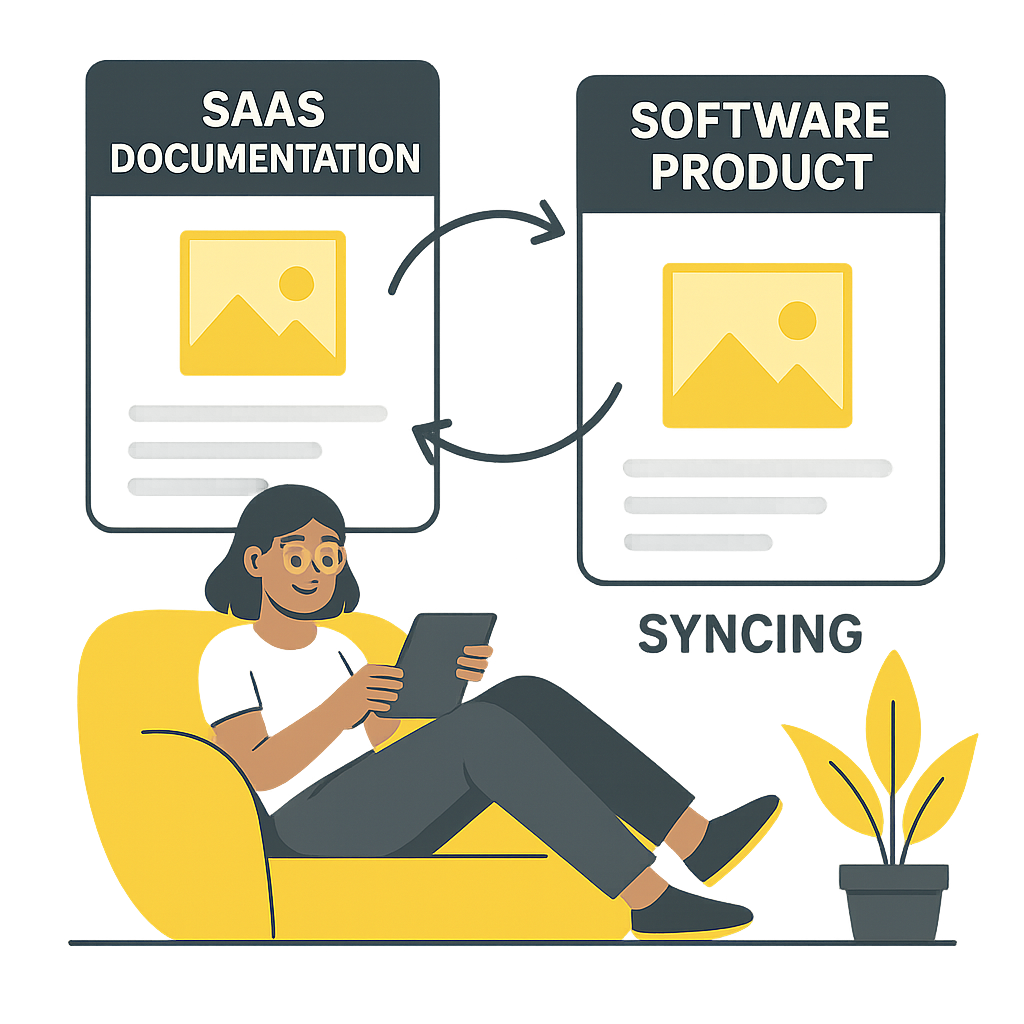
Keeping GitBook documentation current with fresh screenshots is time-consuming. Every product update means manually capturing, cropping, and uploading new images. FreshShots eliminates this tedious work by automatically generating and delivering screenshots that stay current with your product.
The Problem with Manual GitBook Screenshots
GitBook is fantastic for creating beautiful documentation, but managing screenshots is painful:
- Manual capture process: Screenshot → crop → upload → update links
- Always outdated: Screenshots lag behind product changes by weeks
- Time consuming: 2-3 hours per documentation update
- Inconsistent quality: Different team members = different screenshot styles
How FreshShots Solves GitBook Screenshot Management
FreshShots automates the entire screenshot workflow:
- Tag UI elements in your app with
data-freshshots-id - Create workflows that navigate and capture specific screens
- Embed via URL - GitBook pulls fresh screenshots automatically
- Stay current - Screenshots update when your product changes
Step-by-Step: Setting Up FreshShots with GitBook
Step 1: Tag Your Application Elements
Add data-freshshots-id attributes to elements you want to screenshot:
<!-- Dashboard overview -->
<div data-freshshots-id="dashboard-overview" class="dashboard">
  <!-- Your dashboard content -->
</div>

<!-- Settings panel -->
<section data-freshshots-id="user-settings" class="settings-panel">
  <!-- Settings form -->
</section>
Step 2: Create a FreshShots Workflow
- Sign up at app.freshshots.io
- Create new workflow with these steps:
[
  {
    "action": "visit_page",
    "url": "https://your-app.com/dashboard"
  },
  {
    "action": "take_screenshot",
    "selector": "dashboard-overview",
    "save_screenshot_to": "dashboard-overview.png"
  },
  {
    "action": "visit_page",
    "url": "https://your-app.com/settings"
  },
  {
    "action": "take_screenshot",
    "selector": "user-settings",
    "save_screenshot_to": "settings-panel.png"
  }
]
Step 3: Embed Screenshots in GitBook
Use the FreshShots CDN URLs directly in your GitBook content:
## Dashboard Overview

The main dashboard shows your key metrics and recent activity.
## User Settings

Configure your account preferences in the settings panel.
Step 4: Automate Updates
Option A: CI/CD Integration Add to your deployment pipeline:
- name: Update Documentation Screenshots
  run: |
    curl -X POST https://api.freshshots.io/v1/run/123 \
      -H "x-api-key: ${{ secrets.FRESHSHOTS_API_KEY }}" \
      -H "Content-Type: application/json"
Option B: Scheduled Updates Set up weekly screenshot updates using GitHub Actions:
name: Weekly GitBook Screenshot Update
on:
  schedule:
    - cron: "0 9 * * 1" # Every Monday at 9 AM

jobs:
  update-screenshots:
    runs-on: ubuntu-latest
    steps:
      - name: Trigger FreshShots
        run: |
          curl -X POST https://api.freshshots.io/v1/run/123 \
            -H "x-api-key: ${{ secrets.FRESHSHOTS_API_KEY }}"
Advanced GitBook + FreshShots Techniques
Multi-Language Documentation
Create workflows for each language variant:
{
  "action": "visit_page",
  "url": "https://your-app.com/dashboard?lang=es"
}
User Role Screenshots
Capture different views for different user types:
[
  {
    "action": "visit_page",
    "url": "https://your-app.com/login"
  },
  {
    "action": "type_input",
    "selector": "email-input",
    "input_value": "[email protected]"
  },
  {
    "action": "type_input",
    "selector": "password-input",
    "input_value": "password123"
  },
  {
    "action": "click_element",
    "selector": "login-button"
  },
  {
    "action": "take_screenshot",
    "selector": "admin-dashboard",
    "save_screenshot_to": "admin-view.png"
  }
]
Mobile Documentation
Capture mobile views for responsive documentation:
{
  "action": "take_screenshot",
  "selector": "mobile-menu",
  "save_screenshot_to": "mobile-navigation.png",
  "viewport_size": { "width": 375, "height": 667 }
}
GitBook-Specific Best Practices
Image Organization
Structure your screenshots logically:
- Naming convention:
feature-component.png - Consistent sizing: Use viewport_size for uniform dimensions
- Logical grouping: One workflow per documentation section
Content Integration
Before (manual):

*Note: Screenshot may be outdated*
After (FreshShots):

*Always current - updates automatically*
Performance Optimization
- Use appropriate image sizes - Don’t capture 4K for small UI elements
- Batch related screenshots - One workflow for related pages
- Cache-friendly URLs - FreshShots URLs are immutable and cache-friendly
Measuring Success: Before vs After FreshShots
| Metric | Manual Process | FreshShots Automation |
|---|---|---|
| Time per update | 2-3 hours | 5 minutes setup |
| Screenshot consistency | Varies by person | Always consistent |
| Update frequency | Monthly (if lucky) | Every deployment |
| Documentation accuracy | Often outdated | Always current |
| Team productivity | Disrupted by screenshot tasks | Focused on writing |
Troubleshooting Common GitBook + FreshShots Issues
Screenshots not showing in GitBook
- Verify CDN URL is correct
- Check image permissions (should be public)
- Ensure proper image format (PNG recommended)
Screenshots appear too large/small
- Adjust
viewport_sizein workflow - Use
image_zoomparameter to scale - Consider
paddingfor better framing
Authentication required pages
- Add login steps to workflow
- Use session cookies or API authentication
- Consider webhook notifications for completion
Real User Results
“FreshShots reduced our documentation maintenance from 8 hours/month to 30 minutes. Our GitBook stays perfectly current with zero manual work.”
— Sarah K., Technical Writer at SaaS Startup
“We went from quarterly screenshot updates to real-time accuracy. User feedback improved dramatically.”
— Mike R., Product Manager
Getting Started Today
- Sign up for FreshShots (free plan available)
- Tag 3-5 key UI elements in your app
- Create your first workflow in under 5 minutes
- Update your GitBook with CDN URLs
- Set up automation to keep screenshots current
Free plan includes:
- 10 screenshots/month
- Unlimited workflows
- Global CDN delivery
- All core features
Ready to eliminate manual screenshot work forever? Start your free FreshShots account and transform your GitBook documentation workflow today.
Want help setting up FreshShots with your specific GitBook configuration? Contact our team for personalized guidance.

