Automate Bubble.io Application Screenshots with FreshShots: Keep No-Code Documentation Current

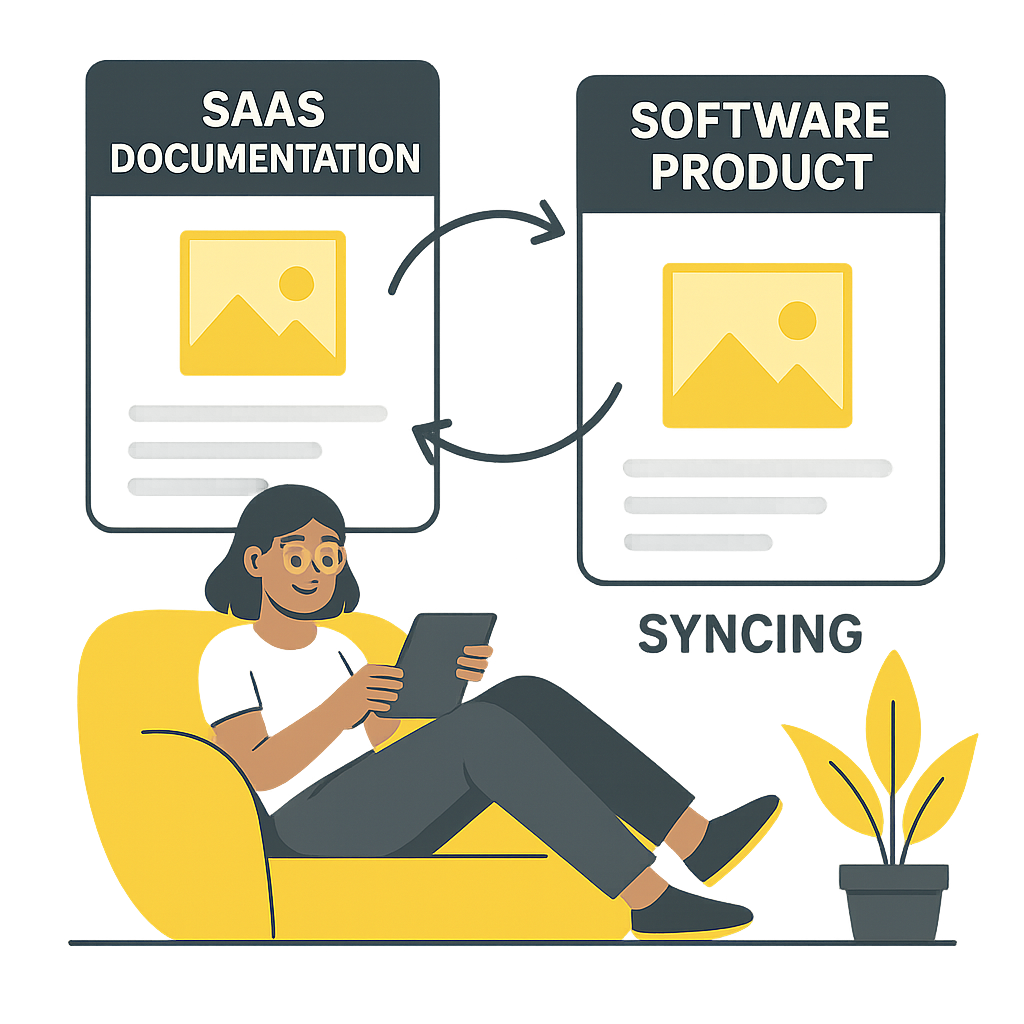
Bubble.io makes building web applications accessible to everyone, but documenting these rapidly evolving apps is challenging. Features change daily, but screenshots in tutorials and documentation become outdated within hours. FreshShots automatically captures and updates screenshots so your Bubble.io documentation stays perfectly aligned with your live application.
The Bubble.io Documentation Problem
Bubble’s visual development approach creates unique documentation challenges:
- Rapid iteration: Apps change multiple times per day during development
- Visual complexity: Rich interfaces require detailed screenshots
- User onboarding: New users need current screenshots to follow tutorials
- Version management: Different app versions need different documentation
- Team collaboration: Multiple developers = inconsistent documentation styles
How FreshShots Revolutionizes Bubble.io Documentation
FreshShots seamlessly integrates with Bubble.io development workflows:
- Live app capture: Screenshots from your actual running Bubble application
- Element-specific: Target specific Bubble elements for precise documentation
- Multi-version support: Different workflows for Development/Live versions
- User flow documentation: Capture complete user journeys automatically
- Responsive documentation: Screenshots for mobile, tablet, and desktop views
Complete Setup Guide: FreshShots + Bubble.io
Step 1: Prepare Your Bubble Application
Add HTML attributes to key elements in your Bubble app using the HTML element or by adding attributes to existing elements:
Method 1: Using HTML Element
<div data-freshshots-id="user-dashboard" class="dashboard-wrapper">
  <!-- This will wrap around your Bubble groups -->
</div>
Method 2: Adding to Existing Elements In the Bubble editor, select an element and add this to the “ID Attribute” field:
data-freshshots-id="signup-form"
Method 3: Using Conditional Display Create conditional HTML elements that only show during screenshot capture:
<!-- Add as an HTML element with conditional visibility -->
<div data-freshshots-id="payment-flow"
     style="position: absolute; top: 0; left: 0; width: 100%; height: 100%; pointer-events: none; z-index: -1;">
</div>
Step 2: Create Bubble-Specific Workflows
Basic App Documentation Workflow:
[
  {
    "action": "visit_page",
    "url": "https://yourapp.bubbleapps.io/version-test"
  },
  {
    "action": "take_screenshot",
    "selector": "user-dashboard",
    "save_screenshot_to": "bubble-dashboard.png",
    "viewport_size": { "width": 1280, "height": 720 }
  },
  {
    "action": "visit_page",
    "url": "https://yourapp.bubbleapps.io/version-test/signup"
  },
  {
    "action": "take_screenshot",
    "selector": "signup-form",
    "save_screenshot_to": "bubble-signup.png"
  }
]
Interactive User Flow Documentation:
[
  {
    "action": "visit_page",
    "url": "https://yourapp.bubbleapps.io/version-test/login"
  },
  {
    "action": "type_input",
    "selector": "input[placeholder='Email']",
    "input_value": "[email protected]"
  },
  {
    "action": "type_input",
    "selector": "input[placeholder='Password']",
    "input_value": "demopassword"
  },
  {
    "action": "take_screenshot",
    "selector": "login-form",
    "save_screenshot_to": "bubble-login-filled.png"
  },
  {
    "action": "click_element",
    "selector": "button:contains('Log in')"
  },
  {
    "action": "wait_for_element",
    "selector": "user-dashboard",
    "timeout": 5000
  },
  {
    "action": "take_screenshot",
    "selector": "user-dashboard",
    "save_screenshot_to": "bubble-post-login.png"
  }
]
Step 3: Handle Bubble-Specific Elements
Popup Documentation:
[
  {
    "action": "visit_page",
    "url": "https://yourapp.bubbleapps.io/version-test/dashboard"
  },
  {
    "action": "click_element",
    "selector": "button:contains('Settings')"
  },
  {
    "action": "wait_for_element",
    "selector": "popup-settings",
    "timeout": 3000
  },
  {
    "action": "take_screenshot",
    "selector": "popup-settings",
    "save_screenshot_to": "bubble-settings-popup.png"
  }
]
Repeating Group Documentation:
[
  {
    "action": "visit_page",
    "url": "https://yourapp.bubbleapps.io/version-test/products"
  },
  {
    "action": "wait_for_element",
    "selector": "repeating-group-products",
    "timeout": 5000
  },
  {
    "action": "take_screenshot",
    "selector": "repeating-group-products",
    "save_screenshot_to": "bubble-product-list.png"
  }
]
Responsive Design Documentation:
[
  {
    "action": "visit_page",
    "url": "https://yourapp.bubbleapps.io/version-test"
  },
  {
    "action": "take_screenshot",
    "selector": "main-content",
    "save_screenshot_to": "bubble-desktop.png",
    "viewport_size": { "width": 1280, "height": 720 }
  },
  {
    "action": "take_screenshot",
    "selector": "main-content",
    "save_screenshot_to": "bubble-tablet.png",
    "viewport_size": { "width": 768, "height": 1024 }
  },
  {
    "action": "take_screenshot",
    "selector": "main-content",
    "save_screenshot_to": "bubble-mobile.png",
    "viewport_size": { "width": 375, "height": 667 }
  }
]
Advanced Bubble.io Documentation Techniques
Multi-Version Documentation
Document both Development and Live versions:
Development Version:
{
  "action": "visit_page",
  "url": "https://yourapp.bubbleapps.io/version-test",
  "note": "Development version for testing new features"
}
Live Version:
{
  "action": "visit_page",
  "url": "https://yourapp.bubbleapps.io",
  "note": "Production version for end users"
}
Database-Driven Content
Document apps with dynamic content:
[
  {
    "action": "visit_page",
    "url": "https://yourapp.bubbleapps.io/version-test/admin"
  },
  {
    "action": "click_element",
    "selector": "button:contains('Add Sample Data')"
  },
  {
    "action": "wait_for_element",
    "selector": "data-loaded-indicator",
    "timeout": 10000
  },
  {
    "action": "take_screenshot",
    "selector": "data-table",
    "save_screenshot_to": "bubble-with-data.png"
  }
]
Workflow State Documentation
Capture different states of Bubble workflows:
[
  {
    "action": "visit_page",
    "url": "https://yourapp.bubbleapps.io/version-test/checkout"
  },
  {
    "action": "take_screenshot",
    "selector": "checkout-form",
    "save_screenshot_to": "checkout-empty.png"
  },
  {
    "action": "type_input",
    "selector": "input[placeholder='Card Number']",
    "input_value": "4242 4242 4242 4242"
  },
  {
    "action": "type_input",
    "selector": "input[placeholder='Expiry']",
    "input_value": "12/25"
  },
  {
    "action": "take_screenshot",
    "selector": "checkout-form",
    "save_screenshot_to": "checkout-filled.png"
  },
  {
    "action": "click_element",
    "selector": "button:contains('Submit Payment')"
  },
  {
    "action": "wait_for_element",
    "selector": "success-message",
    "timeout": 5000
  },
  {
    "action": "take_screenshot",
    "selector": "payment-confirmation",
    "save_screenshot_to": "checkout-success.png"
  }
]
Integration with Bubble.io Development Workflow
Version Control Integration
Trigger screenshots when deploying to live:
# Example GitHub Actions workflow
name: Update Bubble App Documentation
on:
  workflow_dispatch:
    inputs:
      bubble_version:
        description: 'Bubble app version to document'
        required: true
        default: 'live'

jobs:
  update-screenshots:
    runs-on: ubuntu-latest
    steps:
      - name: Update Documentation Screenshots
        run: |
          curl -X POST https://api.freshshots.io/v1/run/123 \
            -H "x-api-key: ${{ secrets.FRESHSHOTS_API_KEY }}" \
            -H "Content-Type: application/json" \
            -d '{"bubble_version": "${{ github.event.inputs.bubble_version }}"}'
Bubble Webhook Integration
Use Bubble’s API workflows to trigger documentation updates:
In Bubble Backend Workflow:
// API Workflow: Update Documentation
// Triggered when app is deployed to live

// Step 1: Call FreshShots API
fetch('https://api.freshshots.io/v1/run/123', {
  method: 'POST',
  headers: {
    'x-api-key': 'your-freshshots-api-key',
    'Content-Type': 'application/json'
  },
  body: JSON.stringify({
    trigger: 'bubble-deployment',
    version: 'live',
    timestamp: new Date().toISOString()
  })
});
Conditional Documentation
Show different content based on user roles:
[
  {
    "action": "visit_page",
    "url": "https://yourapp.bubbleapps.io/version-test/login"
  },
  {
    "action": "type_input",
    "selector": "input[placeholder='Email']",
    "input_value": "[email protected]"
  },
  {
    "action": "type_input",
    "selector": "input[placeholder='Password']",
    "input_value": "admin_password"
  },
  {
    "action": "click_element",
    "selector": "button:contains('Log in')"
  },
  {
    "action": "wait_for_element",
    "selector": "admin-panel",
    "timeout": 5000
  },
  {
    "action": "take_screenshot",
    "selector": "admin-panel",
    "save_screenshot_to": "bubble-admin-view.png"
  }
]
Documentation Organization Strategies
Feature-Based Documentation
# Bubble App Feature Guide
## User Registration

Step-by-step user registration process.
## Dashboard Overview

Main user interface after login.
## Payment Processing

Secure payment processing with Stripe integration.
Responsive Documentation
# Mobile-First Design
## Desktop View (1280px+)

## Tablet View (768px - 1279px)

## Mobile View (< 768px)

User Journey Documentation
# Complete User Journey
## Step 1: Landing Page

## Step 2: Sign Up

## Step 3: Onboarding

## Step 4: Dashboard

Bubble.io-Specific Best Practices
Element Identification
Use Bubble’s element hierarchy for precise targeting:
<!-- Group elements -->
<div data-freshshots-id="header-group" class="bubble-element Group">

<!-- Input elements -->
<input data-freshshots-id="email-input" class="bubble-element Input">

<!-- Button elements -->
<button data-freshshots-id="submit-button" class="bubble-element Button">

<!-- Repeating groups -->
<div data-freshshots-id="product-repeater" class="bubble-element RepeatingGroup">
Performance Optimization
Handle Bubble’s dynamic loading:
{
  "action": "wait_for_element",
  "selector": "repeating-group-loaded",
  "timeout": 10000,
  "note": "Wait for Bubble's repeating group to finish loading"
}
Custom States Documentation
Document Bubble’s custom states:
[
  {
    "action": "click_element",
    "selector": "toggle-button"
  },
  {
    "action": "wait_for_element",
    "selector": "[data-state='expanded']",
    "timeout": 3000
  },
  {
    "action": "take_screenshot",
    "selector": "expandable-section",
    "save_screenshot_to": "bubble-expanded-state.png"
  }
]
Plugin Documentation
Document third-party Bubble plugins:
{
  "action": "take_screenshot",
  "selector": "stripe-payment-element",
  "save_screenshot_to": "bubble-stripe-plugin.png",
  "note": "Stripe payment plugin integration"
}
Measuring Documentation Success
Before FreshShots (Bubble.io)
- Documentation time: 6-8 hours per feature release
- Accuracy: 50% of screenshots outdated within a week
- User confusion: High support volume due to UI mismatches
- Development overhead: 15% time spent on documentation
After FreshShots (Bubble.io)
- Documentation time: 30 minutes setup, then automated
- Accuracy: 100% current screenshots always
- User satisfaction: Dramatically reduced support tickets
- Development focus: 95% time on building features
Troubleshooting Bubble.io + FreshShots
Elements not found:
- Bubble generates dynamic classes; use stable data attributes
- Wait for elements to load using
wait_for_element - Check element visibility conditions
Slow loading:
- Increase timeout values for database-heavy pages
- Add wait conditions for repeating groups
- Handle Bubble’s loading states
Authentication issues:
- Use Bubble’s standard login flow
- Handle session persistence properly
- Consider API-based authentication for automation
Responsive design challenges:
- Test multiple viewport sizes
- Account for Bubble’s responsive breakpoints
- Document mobile-specific elements separately
Getting Started with Bubble.io + FreshShots
Quick Start Checklist
- Sign up for FreshShots (free plan available)
- Add data attributes to 5-10 key Bubble elements
- Create test workflow for main user flow
- Test screenshot capture on development version
- Update documentation with CDN URLs
- Set up automation for live deployments
- Create responsive variants for mobile/tablet
- Monitor and optimize screenshot quality
Bubble-Specific Setup Tips
- Use HTML elements for precise targeting
- Test on both versions (development and live)
- Handle loading states with appropriate waits
- Document responsive behavior across devices
- Include error states and edge cases
- Optimize for Bubble’s element structure
Integration Examples
Tutorial Documentation: Perfect for step-by-step Bubble app tutorials
Feature Announcements: Automatically update screenshots when releasing new features
User Onboarding: Keep onboarding screenshots current with app changes
Support Documentation: Ensure help articles match current app interface
Ready to automate your Bubble.io documentation? Start your free FreshShots account and eliminate manual screenshot management from your no-code development workflow.
Need custom integration help for your Bubble.io app? Contact our team for personalized setup assistance and advanced automation strategies.